.JPG)
Okay, so this is my “herb bed.” On June 13th. Bahahahahaha
Yup.
My dad built the frame for me, long ago – maybe 10 years? Originally, the frame was in the orchard area, but my mom planted some kind of bush (still unidentified) right beside it. It grew quite big and blocked about 1/3 of the bed, in addition to making a lot of shade. My herbs didn’t do well there, so I moved the bed to its new location last summer. I just moved it then; I didn’t do anything else with it.
I just haven’t gotten to it yet this summer. The dogs walk over it a lot; I walk over it sometimes. The dirt was quite packed – so much so, that there were actually very few weeds. It was also littered with dog toys (yes, that is a “toy” shoe - which is technically a doorstopper - but Gabe likes carrying it around).
The first thought I had was simply that I needed to sink pots into the ground, in order to protect the plants from traffic. So, I made a trip to my favourite discount warehouse –
Bianca’s Amor’s.
I picked up some terra cotta-hued plastic pots for $2 each and 3 wooden basked for $10 each (the baskets were a bit pricey, but so pretty).
.JPG)
I got everything home, removed the liners from the baskets, and cut the bottom slats out. I also used a utility knife to cut the bottoms off the plastic planters.
.JPG)
Then I got to work on the bed itself, cleaning up the weeds, and working the soil.

Friday evening is my grocery night, so I kept my eyes open at the Real Canadian Wholesale Club (a division of Loblaws) for a "centerpiece" for the bed. I was hoping for something tall; maybe a birdbath. The fountains at the Wholesale were either tabletops or too big and pricey. But, in a different area, I found a plastic birdbath/fountain for $19.99. Whoot!
A plastic fountain is pretty lightweight, so I wired it to a piece of concrete to keep it from tipping.
.JPG)
Yes, it looks great!
.JPG)
I really wanted to get the fountain operational right away, but I needed a long outdoor extension cord, and the only one I have is attached to the house, for patio lanterns that used to be on the second floor windows. I was too cheap to run to the hardware store and shell out another $3o for a long cord and I live alone so how to get the cord down??? Well, I hope my mom wasn't watching from above, because I climbed the tree on the side of the house and hopped onto the roof from there. (Actually, my mom would have done the exact same thing.) I had to go pretty much to the peak to unwrap the cord and I carefully tossed it over the edge before scuttling back down to the tree and very carefully descending. All that was for nought, though. My dad wired the cord to some king of pipe on the side of the house. My tallest freestanding ladder will only take me high enough to change the lightbulb in the fixture. I need to use the extension ladder to reach waaaaaay up where my dad wired the cord. Sigh. I can't position the extension ladder on my own, it's too heavy. Plus my sister would have a bird if she knew I did that when no one was home (shhhh about the tree!). So, the fountain is not hooked up yet.
.JPG)
Okay, next step: get the rest of my containers ready to sink. I had mixed feelings about cutting up the shoes. They were my dad's - I bought them for him and he loved them. So easy to slip on and off; and he obviously wore them to paint something. I've put pots in them in the past; but really, what else am I going to do with them?
.JPG)
.JPG)
I stuffed gravel in the toe beds to weigh the shoes down, and then potting soil in the heel area, but the plants will be able to root into the ground.
So, I've got my fountain, my shoes, my wooden baskets, and my plastic planters more or less arranged, and I've started to plant herbs (thyme and peppermint transplanted; dill seeded into one of the wooden baskets):
.JPG)
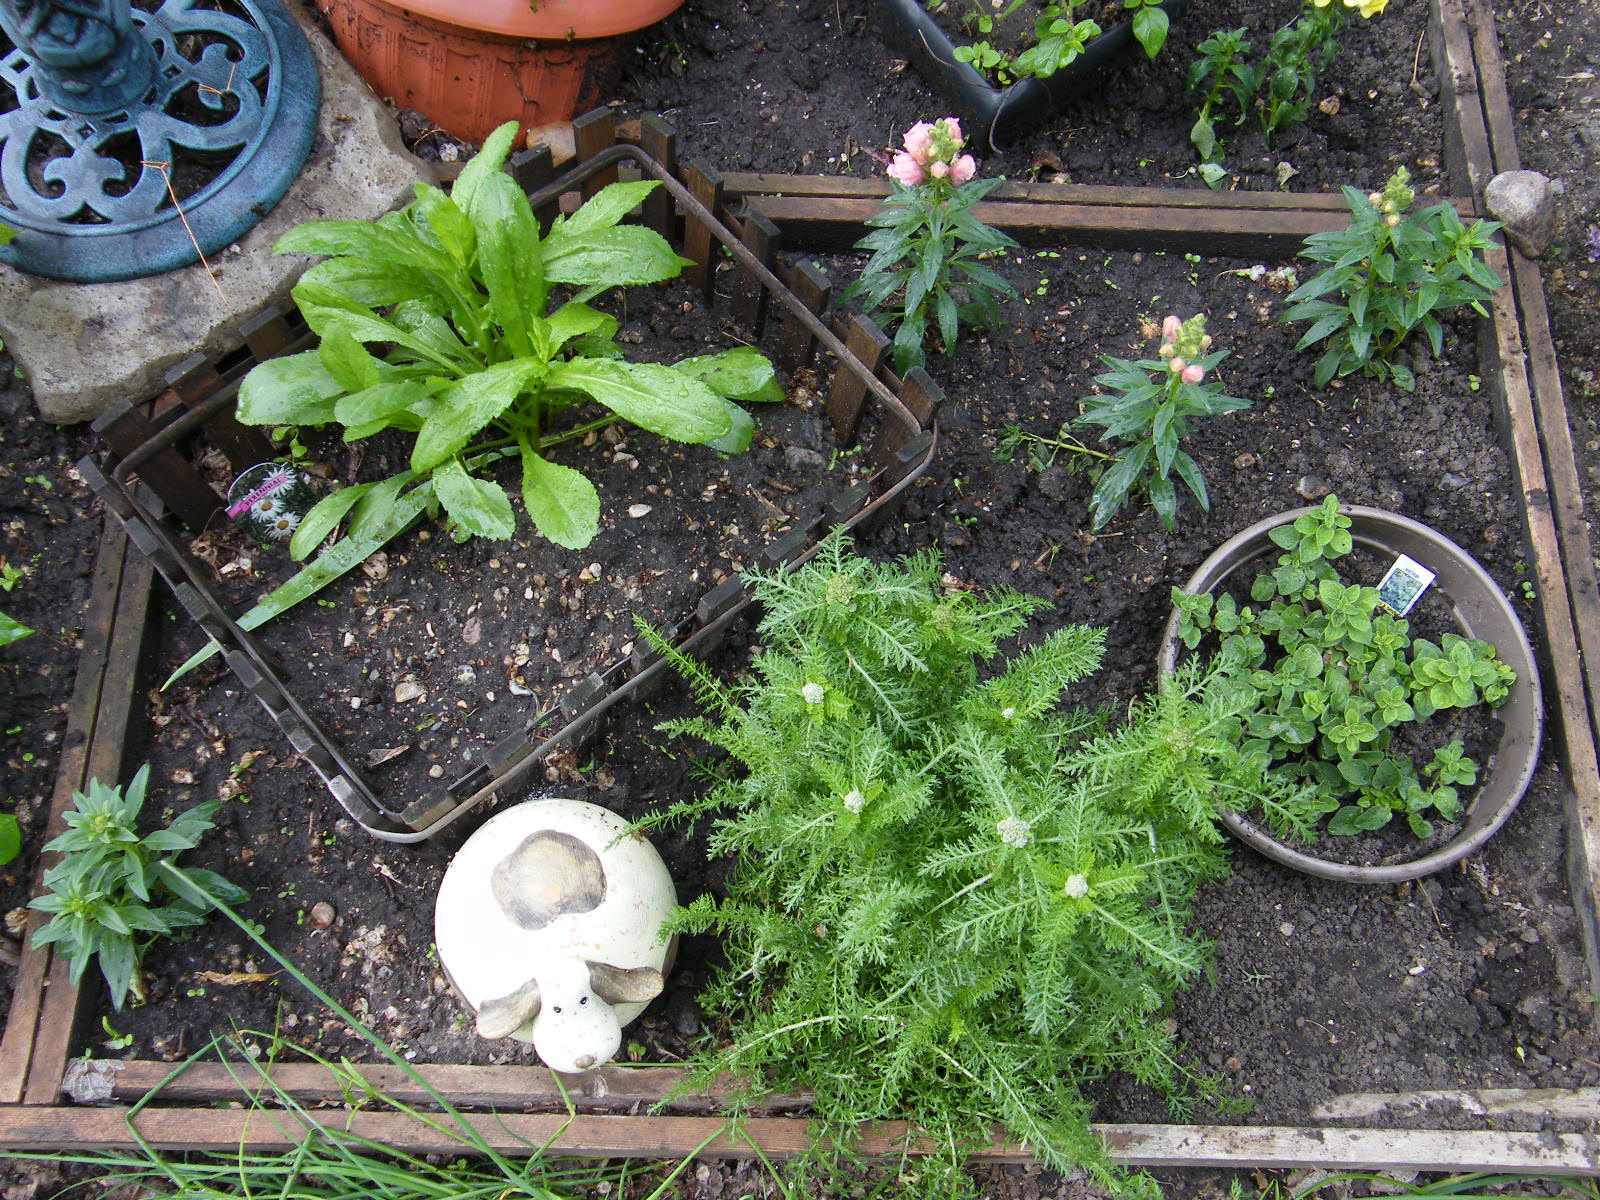
Still a lot of space to fill. Time to repurpose things. First up: an old canner. It was rusting out at the bottom and there were holes. My parents would have purchased a repair kit, but I figured the canner would enjoy a retirement in the garden. I very carefully removed most of the bottom using a hammer and nail, tin snips, and needlenose pliers. Kids, do not try this at home without adult supervision! Adults do not try this at home without protective eye gear and gloves!
.JPG)
I ended around supper time, not quite finished, but needing time to visualize what exactly was missing. I added some oregano and some snapdragons for colour. I wasn't crazy about the faux wheelbarrow, but wasn't sure what else I could repurpose. The black plastic pots were just the beginning of an idea. I got it together, I think, this evening. More pictures in "Herb Bed, Part 2."
.JPG)


.JPG)
.JPG)
.JPG)
.JPG)
.JPG)
.JPG)
.JPG)
.JPG)
.JPG)
.JPG)
.JPG)
.JPG)
.JPG)
.JPG)

.JPG)
.JPG)
.JPG)
.JPG)
.JPG)
.JPG)
.JPG)
.JPG)
